Showing posts with label wood. Show all posts

Sunday, September 18, 2011

Speaking of Chairs...

I realized after posting my freecycle chairs that I never shared pictures of my kitchen chairs on this blog. I have a matching set of four, two of which are cream and slightly boring (one pictured below), but the two that I painted last summer are pistachio green and are awesome.

I promise there is a 4th chair, but I keep it in my sewing room.

I sure love color. And having chairs to sit on whilst eating my dinner and/or using my computer. Life is good. :)

Also, I promise my kitchen/dining area isn't as boring as it looks in this picture (I have two whole wall hangings... so it is slightly less boring than it looks). I guess my decorating style could be defined as: functional + simple + color + cheap (but not necessarily in that order). Plus, I can't be bothered with staging photos to make things look cuter than they appear.

Tuesday, September 6, 2011

I totally labored on Labor Day

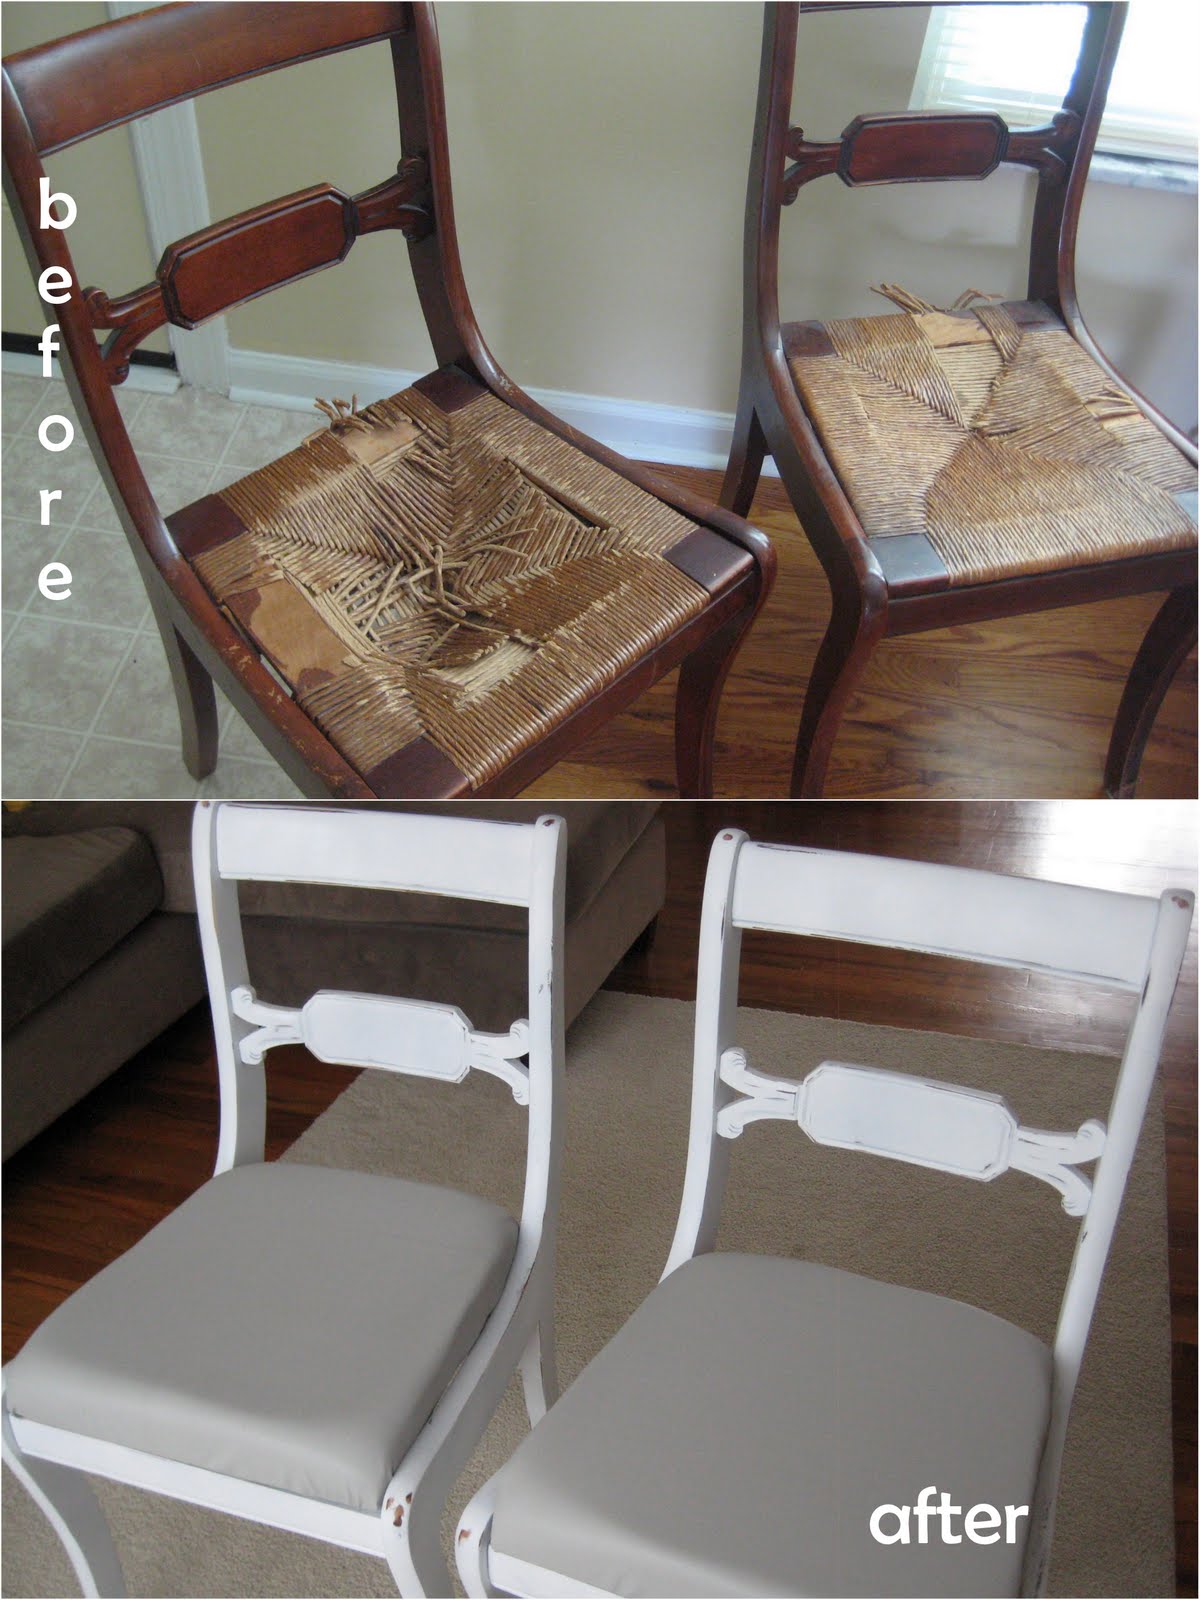
Wanna see what I finally finished? These awesome chairs. Last summer we got them from freecycle but the seats were busted. I wasn't in a rush to finish them but didn't realize it would take me basically a year to actually work on them. But I totally finished them and I feel awesome about it.


First, I got those nasty broken seats off. Then painted the frames white and distressed them a little. I don't know why I always feel the need to distress painted wood, but I do. It might be because I don't like some things in pristine condition. Plus, it helps draw out details that would otherwise be masked by paint. And these chairs have some lovely details.

Some of the distressed details

Once the frames were to my liking, we (mostly meaning my husband) went and got some 3/8 inch thick plywood and had them cut down to size. Then I got my high-density foam (40% off coupons are the best as high-density foam is not the cheapest) and cut it down to size (I used my serrated bread knife - worked like a charm).


Then I used my super soft, light-gray pleather remnant I found at Joann's to cover my newly-made seats. My sweet husband stapled the fabric down and will eventually screw those seats down for me (so I guess they technically aren't finished but they are still functional so they still count as done... to me... ). And now I have beautiful and comfy new chairs that were relatively cheap!


Cost breakdown:

  • chair frames: $0
  • paint (cheap-o spraypaint): $8
  • clear topcoat: $3
  • plywood: $4
  • high-density foam: $8
  • pleather remnant: $4
Total cost for 2 chairs:  $27

Thursday, August 26, 2010

Give Me the Bird


Last night I was looking in my hall closet (I don't even remember why) and saw a random board from an old abandoned project and some cork I bought a few weeks ago. As my eyes went from one to the other, I had the sudden urge to put them together and make myself a cork board. So I did.

First I painted the edges of my board a pretty blue (I mixed North Sea blue with some white to get the color I wanted). It took 2 coats.
(This is not what the blue actually looks like... but you get the idea)


Then I grabbed some brown craft paper, drew a bird and cut it out.

I used some spray adhesive on the back of the paper to stick it to my cork.
(I decided to flip my image)


Then I grabbed my stencil foam brush and dabbed on my white paint.

I should have let the paint dry a little first before I peeled off my paper, but I didn't. Fortunately the paint didn't smudge much.

Once everything was dry, I pulled out my rotary board and ruler and an exacto knife (NOT my rotary cutter, I didn't want to ruin it by cutting cork) and carefully (and slowly) cut my cork to my desired size.

Then I used my glue gun and glued on my cork (I hear wood glue would also work well for this part). I worked from one side to the other so the glue wouldn't cool before I was able to attach the cork.

And ta-da! Here is my adorable new cork board.

To finish it off, you can always add some cute button push pins like I did.

giveaways
Also linking to:Making the World Cuter, C.R.A.F.T., and Keeping It Simple

Thursday, July 22, 2010

Mirror/Key Holder Thingy


This is the first "craft" project I have finished for our new place and I looove the way it turned out. Plus, my husband helped so it was a lot of fun, too.


In our many thrift store visits this past week, I found this framed mirror for less than $2. The instant I saw it I knew what I would do with it (my husband had mentioned in passing that he would like a place to hang our keys).

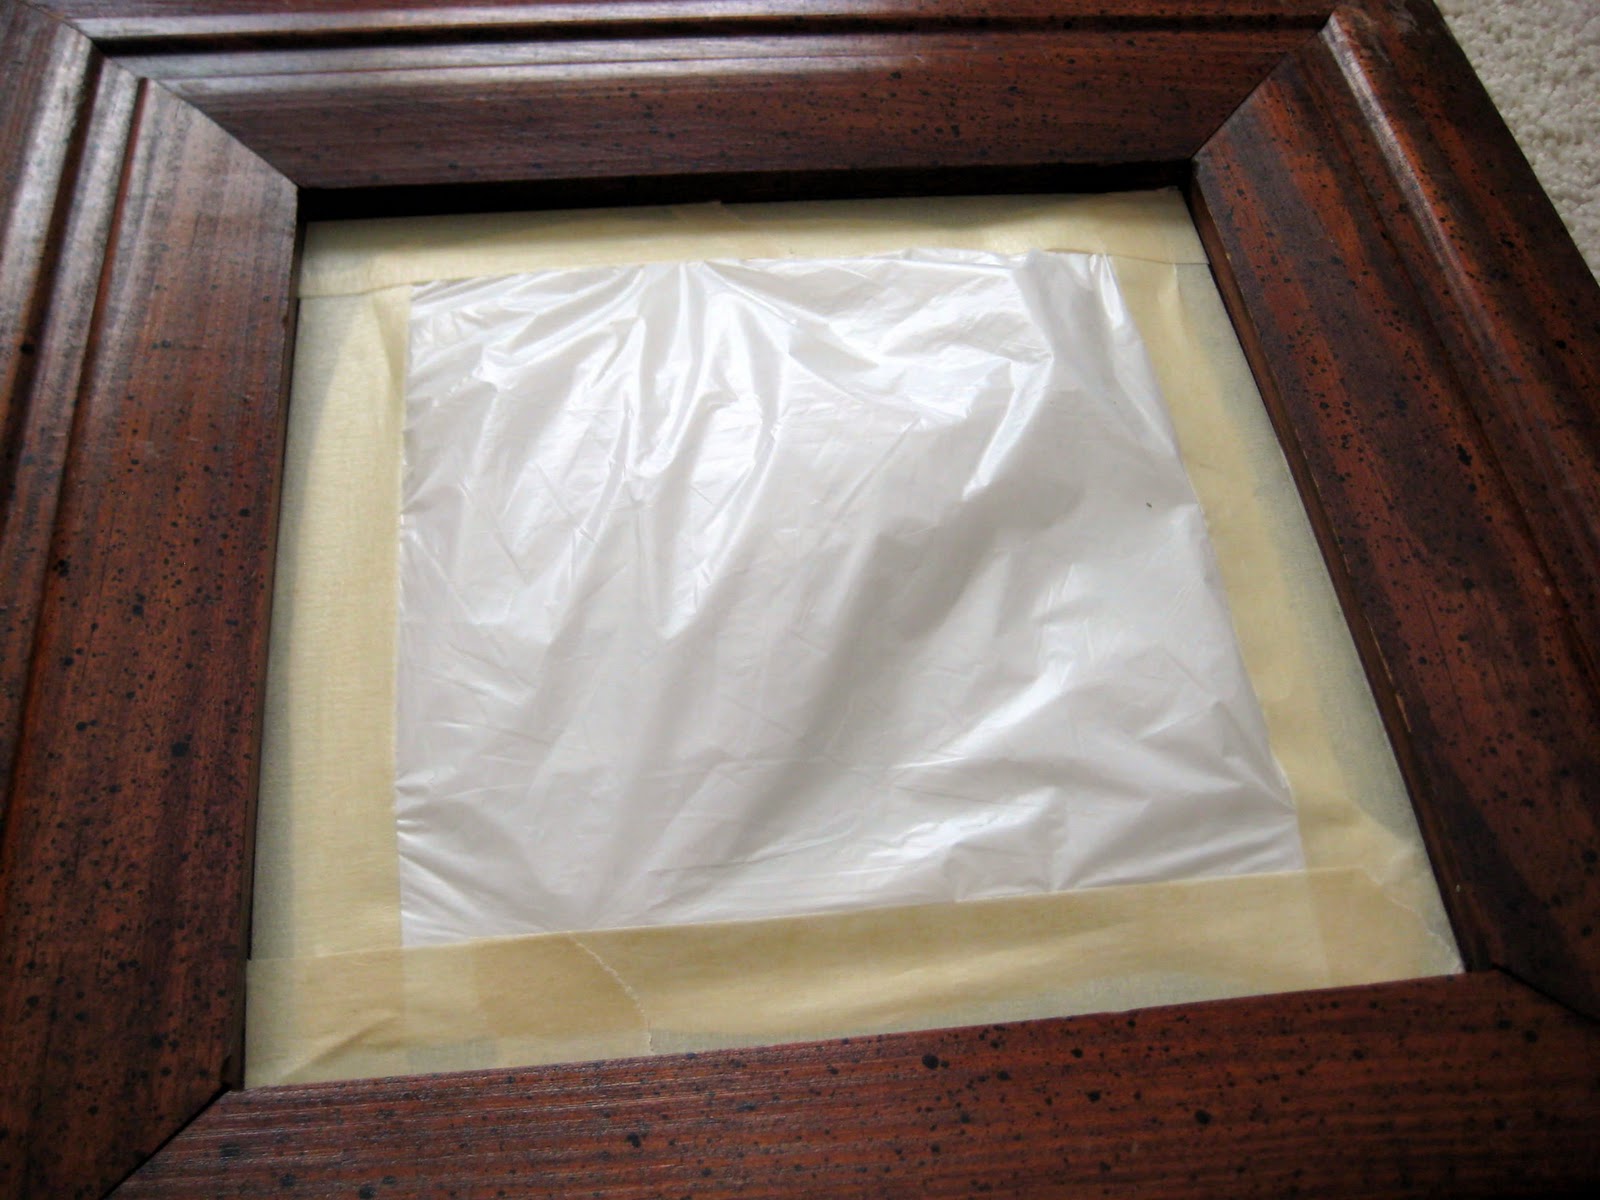
After forking over the <$2, we took it home. I cleaned up the wood and taped up the mirror with a cut up grocery bag and masking tape.


I spray painted it white (it took a few coats). After it dried overnight, I took some sandpaper and went to town. At first I was worried that I was a little too sandpaper happy but in the end I didn't care and just had fun with it. :)


Once that was done, I marked (with a pencil) where I wanted my hooks.

My husband pulled out his drill and bits and made some pilot holes to screw in my hooks. (My husband compared the length of the screw to the hook and placed masking tape on the bit at that point to prevent the drill from drilling too deep. Does that make sense? Let me know if you have questions.)


We screwed in the hooks, took off the tape and plastic, cleaned the mirror, and ta dum: we have a cute and handy dandy key holder. I hung ours by the front door (a convenient spot if I do say so myself).


And now you know how to make one, too! Hooray!

Oh, and because I can't resist sharing... Here is a "sneaky" pic I got of my husband going up the stairs. I hate to see him go but love to see him walk away. ;)

Saturday, May 15, 2010

Nativity

Yes, yes I know. It is May and NOT December but I made these last weekend and had to show them off.


Last Christmas I went the Festival of Trees gift shop and saw the cutest wooden nativity. I fell in love and wanted to pick one up but had already exhausted my budget. Plus, I knew I could easily make one. Later on I started thinking about how I loved the few Christmas decorations we received as wedding gifts (despite the fact that we got married in August) and how they came in so handy that first Christmas together. So with those 2 thoughts in mind I decided to make these sweet nativities as wedding gifts this year.


They were pretty easy to make (especially since my cute husband helped with the cutting of the wood and the sanding) and I love their simplicity. Plus, if you make a few at a time, they end up being super cheap!


LinkWithin

Related Posts Plugin for WordPress, Blogger...